An index is a type of reference which list particular words along with the page numbers in which they appear in a document or book. It’s used for conveniently pointing readers to instances where a word has been used.
The list of terms included in the index are usually confined to keywords that are relevant to the topic being discussed in the document.
Microsoft Word includes an index generator in the REFERENCE tab which makes creating an index quick and easy. It basically works by using the Mark Entry option to mark all instances of a word that one wishes to include in the index.
Removing an Index Entry in Microsoft Word
Sometimes you may want to update the index to remove particular words that are no longer needed in the index or that have since been deleted from the document. To do that, do the following:
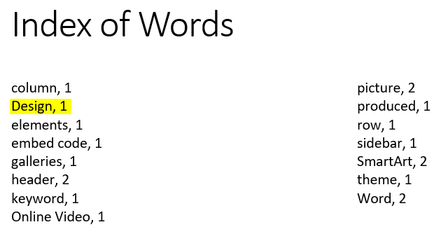
- In your document, go to the page where the index has been generated.
- Identify the word you want to remove from the index and the page number(s) it’s found in. In this case we want to remove the Design entry.
- Jump to the page where it’s found.
- Next go to the Home tab and under the Paragraph section, click the pilcrow
¶button to show the paragraph marks.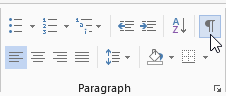
- Next to the entry you’ll now notice the words
XE·"Entry"inside curly brackets (whereEntryis the word you want to remove).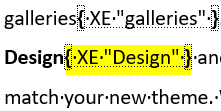
- Delete the entire portion that’s inside the brackets to remove the index.
- Hide the paragraph markings by clicking the pilcrow
¶button. - Finally, we need to update the index. So go back to the page with the index, click on any entry to select it then press F9 to update the index.
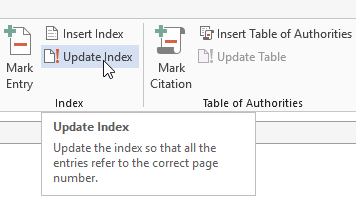
You can also update it by going to the REFERENCE tab and clicking the Update Field button under the Index category.
Want more tips like this? Check my list of time saving Microsoft Word Tips.
