Porkbun is undoubtedly one of the better domain registrars out there. For one, they’re one of very few registrars that don’t have outrageous markups on their domain renewal fees.
Secondly, their domain management dashboard while it may not have the bells and whistles of their competitors its very easy to use. Thirdly, their quirky sense of humour is rather refreshing.
In spite of all their good qualities one may still have reasons to want to transfer a domain away from Porkbun. Perhaps you found a cheaper registrar or didn’t find their experience as oddly satisfying as advertised.
Whatever the reason, the domain transfer from Porkbun is quite straightforward save for one ‘unoinky’ moment that we’ll see.
Step 1: Remove Registrar Lock
First thing you need to do is to remove the registrar lock. This lock prevents the transfer of a domain from the current registrar. It’s a good safety mechanism to prevent unauthorized transfers but in this case we need to disable it.
To do that go to the Domain Management page in your Porkbun account and click the Lock button on the domain you want to transfer.
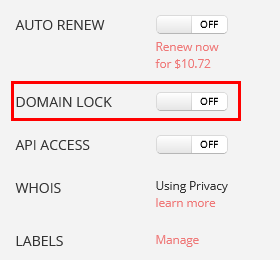
Alternatively, you can reveal the list of options by clicking the Details button then beside the DOMAIN LOCK option turn off the toggle as shown above.
Step 2: Turn Off WHOIS Privacy
WHOIS privacy is a cool feature that Porkbun provides for free while some other registrars charge for it. It protects your contact information so that you don’t get spammed or get revealed as the domain owner.
We however need to turn off the feature before we can start the transfer. Fortunately, on Porkbun this doesn’t have to make your information public while the transfer is in progress as they’ve a redact option which keeps your information hidden from the public but accessible by the domain registry.
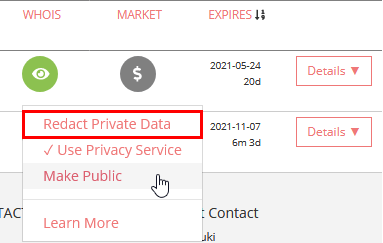
To activate it this option, go to your Domain Management page, click on the Eye icon on the domain you’re transferring out and select the Redact Private Data option.
Step 3: Get Domain EPP Code
The EPP code allows you to authorize the domain transfer to a different registrar. To get it, click the Details button and next to the DOMAIN TRANSFER option click the Get Authorization Code link. A window will pop up with the code.
Once you get the code you can begin the transfer process on the other end of the new registrar. You’ll be requested to enter the code in their transfer wizard which varies across different registrars.
Step 4: Expedite the Transfer
The above steps should suffice for the transfer to complete however it may take up to 5-6 days for the transfer to complete. They leave these window just in case you change your mind about the transfer.
Nevertheless, you can fast-track the process by approving the transfer in your outgoing registrar. To do that in Porkbun, go to the Domain details and first make sure that the STATUSES option indicates a pendingTransfer.

According to ICANN this status means, and I quote, “a request to transfer your domain to a new registrar has been received and is being processed.”
If your domain has this status then just below it in the REGISTRAR TRANSFER option you’ll find an Approve / Deny link. Click the link and in the pop-up window that opens click the Approve Transfer Out button that is in RED and not GREEN.
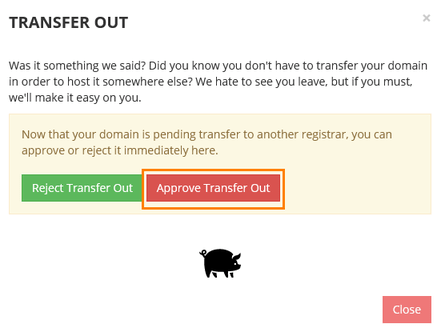
The GREEN button does the very opposite which is to cancel the transfer; that’s the “un-oinky” behaviour I was alluding to because I’m sure Porkbun is very aware that naturally many people would rush to click the green one since we associate a negative statement to a RED color and a positive one to GREEN.
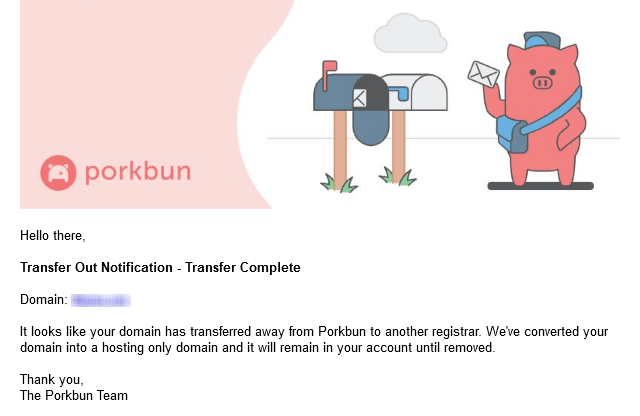
After approving the transfer the domain will transfer within less than 24 hours instead of the 5 days. Porkbun will email you confirming that the domain transfer is complete.
Your domain should now be fully accessible on the new registrar. Make sure to check that your Nameservers / DNS Settings are correct and to enable WHOIS privacy if supported.
