By default, Jetpack Related Posts is added to the end of post articles. Nevertheless, it is possible to insert it to different locations by implementing some code customizations.
Until recently, this was the only location that was officially supported by the JetPack plugin. With the addition of the Related Posts block, however, users can now also insert the related posts to any supported location within a post or page.
Likewise, if you’re using the new block-based widgets screen, this block can be used to add the related posts to the sidebar. It’s also possible to add it to the sidebar if you’re still using the classic widget screen. Here’s how to go about it for both.
Add JetPack Related Posts to Sidebar (Block-based Widget Screen)
1. Start by removing the JetPack Related Posts from the bottom of the pages by adding the following code snippet to your functions.php:
function jetpackme_remove_rp() {
    if ( class_exists( 'Jetpack_RelatedPosts' ) ) {
        $jprp = Jetpack_RelatedPosts::init();
        $callback = array( $jprp, 'filter_add_target_to_dom' );

        remove_filter( 'the_content', $callback, 40 );
    }
}
add_action( 'wp', 'jetpackme_remove_rp', 20 );
Otherwise, skip this step if you want to have both locations visible.
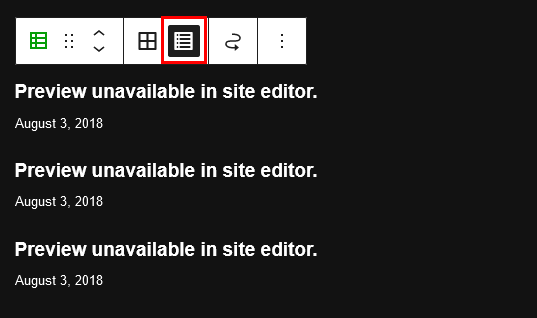
2. Next, go to the widgets page and add the Related Posts block to the sidebar. On the block, you can toggle between the grid and list layouts. Ideally, you’ll want to display the block as a list since most sidebars are too narrow to accommodate the grid display.

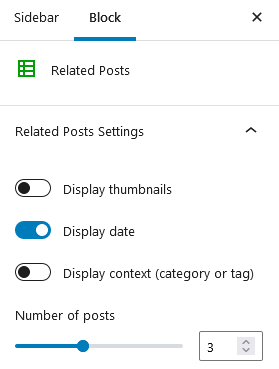
3. By default, the block adds three post items with dates shown. You can however customize the number of post items to show along with whether to display dates and the context (category or tags) by selecting the block and adjusting the corresponding options in the sidebar.

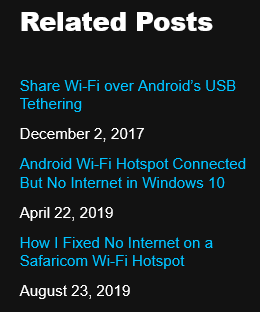
4. The block doesn’t include a widget title. You can however display one by adding a Heading block above it and giving it the appropriate title, e.g. Related Posts.

5. Once you’re done, click the Update button at the top of the page to save the widget.
Add JetPack Related Posts to Sidebar (Classic Widget Screen)
1. Remove the existing related posts from the bottom of the posts by adding the code snippet below to your functions.php file. Otherwise, skip this step if you want to keep both locations visible.
function jetpackme_remove_rp() {
    if ( class_exists( 'Jetpack_RelatedPosts' ) ) {
        $jprp = Jetpack_RelatedPosts::init();
        $callback = array( $jprp, 'filter_add_target_to_dom' );

        remove_filter( 'the_content', $callback, 40 );
    }
}
add_action( 'wp', 'jetpackme_remove_rp', 20 );
2. Go to the classic widget screen and add a Block widget to the sidebar.
3. Expand the block widget and add the following code to it:
<!-- wp:jetpack/related-posts {"postLayout":"list"} /-->The above code will display three related post items with dates in a list layout. You can however hide the dates by adding the displayDate option and set it to false:
<!-- wp:jetpack/related-posts {"postLayout":"list","displayDate":false} /-->You can customize the number of items to show by using the postsToShow option. For instance, the code below will show 6 posts instead of the default 3.
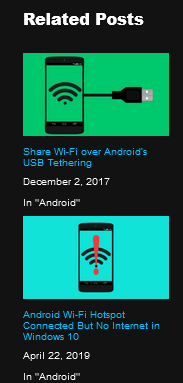
<!-- wp:jetpack/related-posts {"postLayout":"list",postsToShow":6} /-->You can also enable to show thumbnails and context (category / tag) by using the options displayThumbnails and displayContext respectively:
<!-- wp:jetpack/related-posts {"postLayout":"list","displayThumbnails":true,"displayContext":true,"postsToShow":6,"displayDate":false} /-->
4. The above block doesn’t include a widget title. You can however display one by adding another block just above it and adding the following code:
<!-- wp:heading -->
<h2>Related Posts</h2>
<!-- /wp:heading -->
The above code will display the title Related Posts inside a H2 tag. Customize it to your liking.
That’s it!
