YouTube allows you to set a custom URL for your channel provided you’re eligible for it. A custom URL is good for your channel branding as it’s easy to recognize and be shared by your users.
But what if you had already set the custom URL, is it possible to change it for a second time? You may want to do this for a variety of reasons such as after changing your channel name, owner or if like me, you by mistake got stuck with an unsightly custom URL that YouTube auto-generated from your linked Website.
Well it turns out it’s very possible but the process itself is somewhat convoluted as its not entirely done on YouTube. Basically what we have to do is release the current custom URL by removing it via the Brand Account settings then claim a new Custom URL back in YouTube. Here’s how to go about it.
Step 1: Release Custom URL
- Go to your Google About Me page.
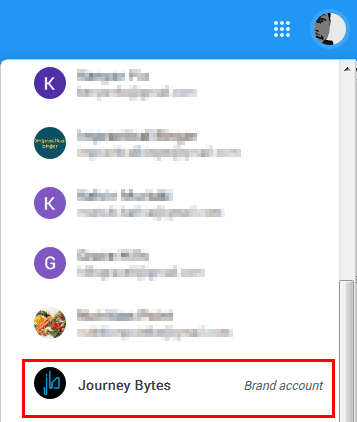
- Click on the account icon on the top left of the page and select the brand account for the YouTube channel you wish to change the custom URL. If it’s not listed there, click the All Brand Accounts to view all channels.
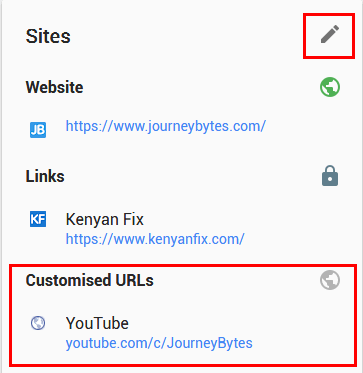
- Doing this should open the About Me page for your channel. Under Sites you should be able to see your current channel URL under Customised URLs. To edit it, click the pencil icon beside the Sites heading.
- In the pop up window remove the current custom URL by clicking the X icon beside it.
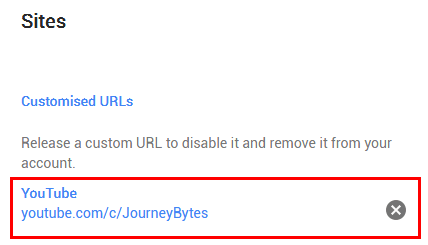
Click OK to save the changes.
Step 2: Set Up a New Custom URL
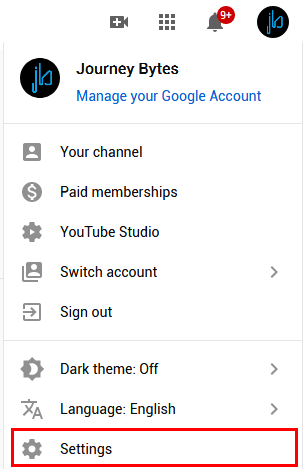
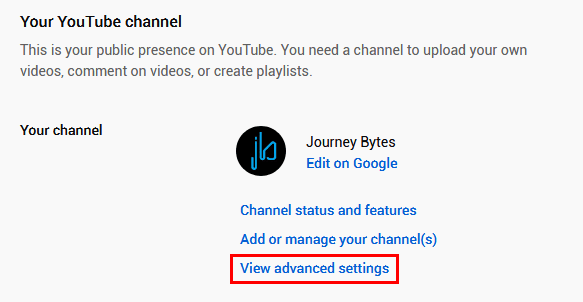
- Now go to YouTube, sign in into your channel and select Settings.
- Open Advanced Settings by clicking the view advanced settings link or the last menu option.
- You should find that you’re eligible for a custom URL since you removed the old one.
So click the link next to You’re eligible for a custom URL then in the Get a custom URL box select a new URL that you’ve been approved for.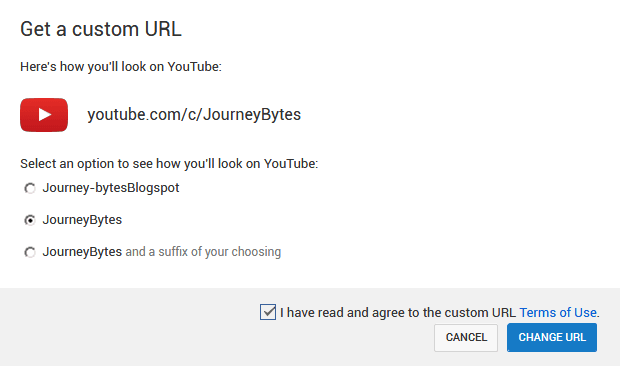
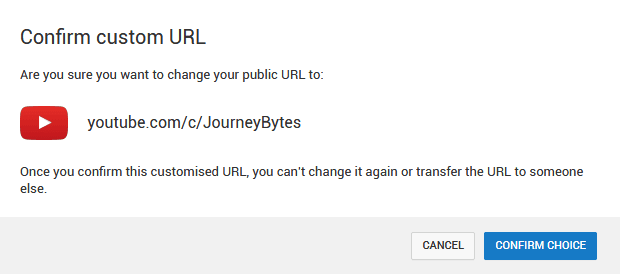
- Agree to the Custom URL Terms of Use then click the CHANGE URL button and confirm the choice.
 That’s it.
Now all you have to do is to wait as it may take a couple of days for the old URL to be deactivated.
