Microsoft Word by default embeds some metadata on documents for purposes of identification. Some of these document properties include the document title, subject, tags, company and the author’s details as specified in Word’s options.
The author details are further divided in two different properties: the author, which specifies the original author of the document, and the last modified by which specifies the last author to save the document.
For privacy reasons one may however want to remove the author details for instance when sharing a document online. Fortunately, Word provides an easy way to do this using the Inspect Document as shown in my video tutorial.
This option however has one glaring limitation: it only works with one document at a time. What this means is one will have to inspect each document individually if they want to scrub the author metadata from multiple Word documents.
Fortunately, there’s a workaround to this and even better, we don’t need another application — Window’s file manager will do.
Remove Author Properties using Window’s File Explorer
- Put all your documents into one folder.
- Select all the documents by pressing CTRL+A.
- Right-click the selected documents and select Properties from the context menu.
- In the Properties window switch to the Details tab and at the very bottom click the Remove Properties and Personal Information link.
- At the top of the Remove Properties window, select the option ‘Remove the following properties from this file:‘
- Next go to the Origin section, and you’ll find the two properties we want to remove: Author and Last saved by which is equal to the Last modified by property in Word.
- Check the two properties including any other metadata you want to remove, then click OK. File Explorer will then proceed to scrub away the checked metadata in just a matter of seconds.
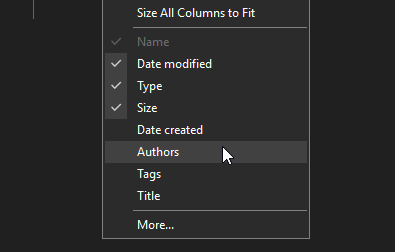
To confirm the metadata has indeed been removed from all the documents, just switch File Explorer to Detail view and enable the Author detail column.
The entire column should appear blank as shown in the video tutorial.

Thank you! I have been searching the web for this data, to no avail as blogs always address one document at a time…. life saver. Have had a ghost author who has not worked in the office for 20 years on many documents we cannot get rid of.
If you know how to take an author out altogether, that would be great- meaning just wipe them from the system. We are not sure why this person keeps being the “author” of 2022 documents when she left 20 years ago.
The ghost author keeps appearing on all docs perhaps because they’re the one saved in Word Options. You can change that by going to Word Options > General then change the User name and initials below the option Personalize your Copy of Microsoft Office